
Follow this denim mending reverse applique tutorial to transform a stain or hole into a pretty design element.

Sharing a new mending method today – a neat and tidy reverse applique that turns unsightly rips into beautiful little windows! There are about a million ways you can use this technique and fit different aesthetics by choosing different cut-out shapes, different inset fabrics peeking through, or decorative stitches. This is a beginner-friendly method that can also easily be sewn by hand!
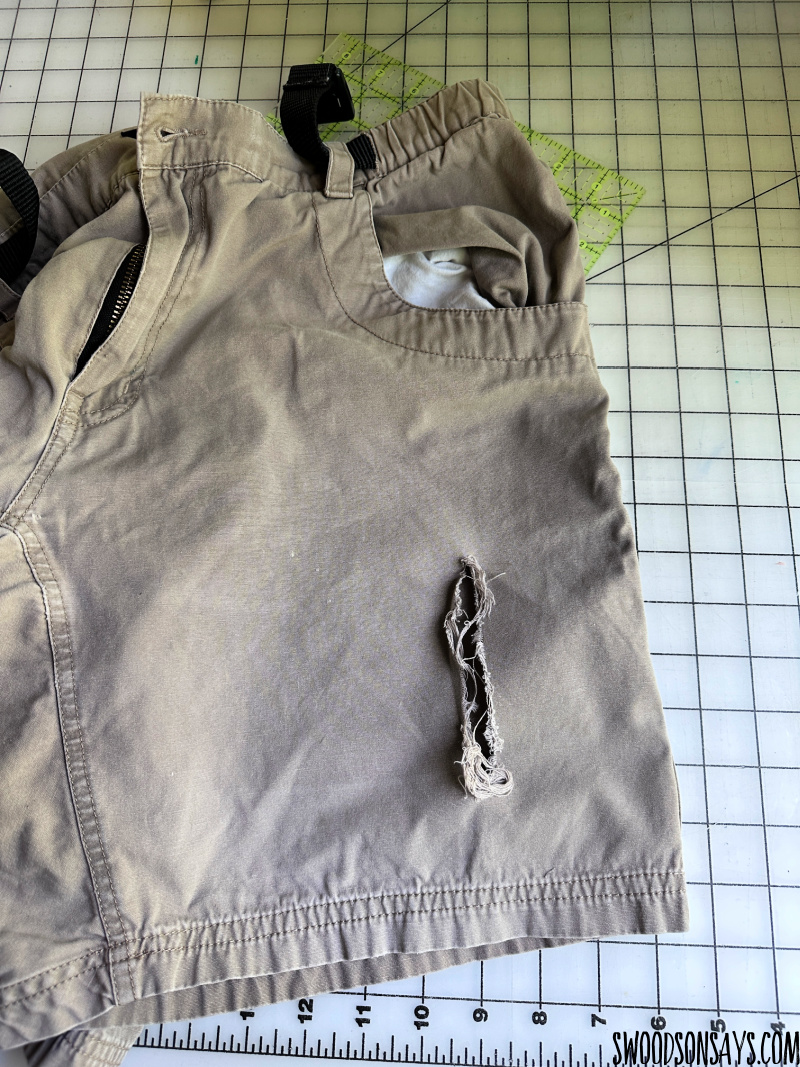
Here is the ‘before’ – a pair of Kavu brand shorts that I scooped up from the Goodwill Outlet bins. I’m guessing it got caught on a gate or something; this isn’t a high wear area.
I would not use this method on a knee or an elbow, anywhere that is going to continually get a lot wear, because you’re not only using a single layer of fabric, unlike patching, you’re also putting stress on the seams around the sides. I wouldn’t recommend using this technique on a super-stretchy knit, like leggings, but it would potentially work on more stable knits like a thick cardigan without much stretch! Super stretchy fabrics are going to distort when you’re pushing the window to the inside, I think, but report back if you happen to experiment!
If you like this post, check these out while you’re here:
- How to redesign old jeans – 15 denim refashion ideas
- What to do with old jeans – 45+ upcycle sewing tutorials
- How to mend jeans by hand without a patch
- How to mend a rip in jeans with hand embroidery
- How to mend a hole – 20+ creative inspiration & tutorials
Pin this denim reverse applique tutorial with this link or image:

Ready to try it yourself?
Denim reverse applique tutorial
Supplies
- Tracing paper – can use anything, I have a big roll of this that I use
- Pins
- School glue stick
- Stamp
- Fabric ink pad- I use this one!
- Iron
- Sewing clips
- Denim scraps
- Pinking shears
Steps
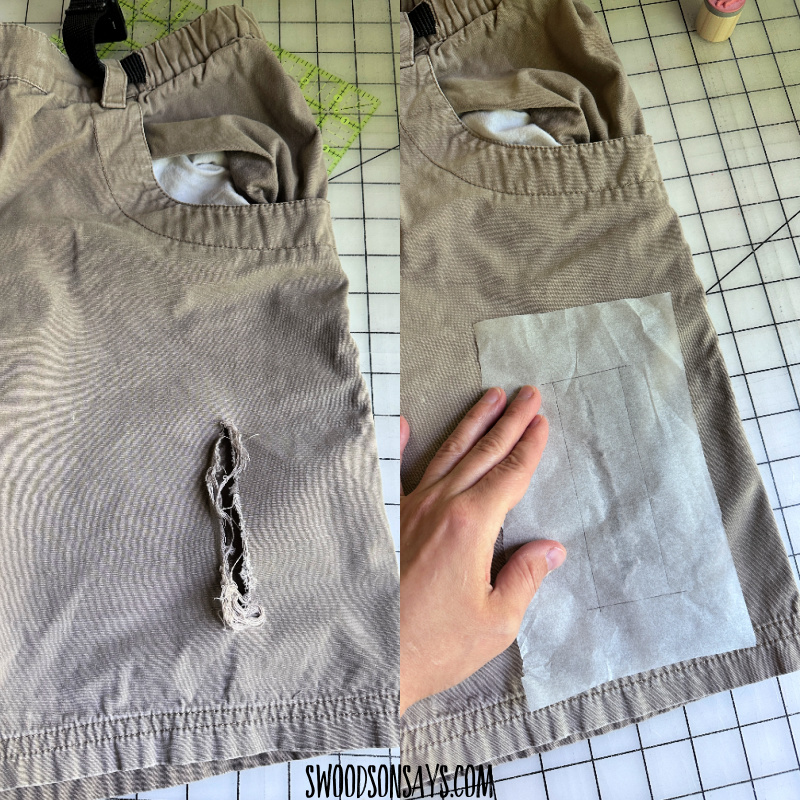
Step 1- Use a chunk of tracing paper and make a new shape that fully covers the rip from end to end- you can see the rip through the tracing paper!
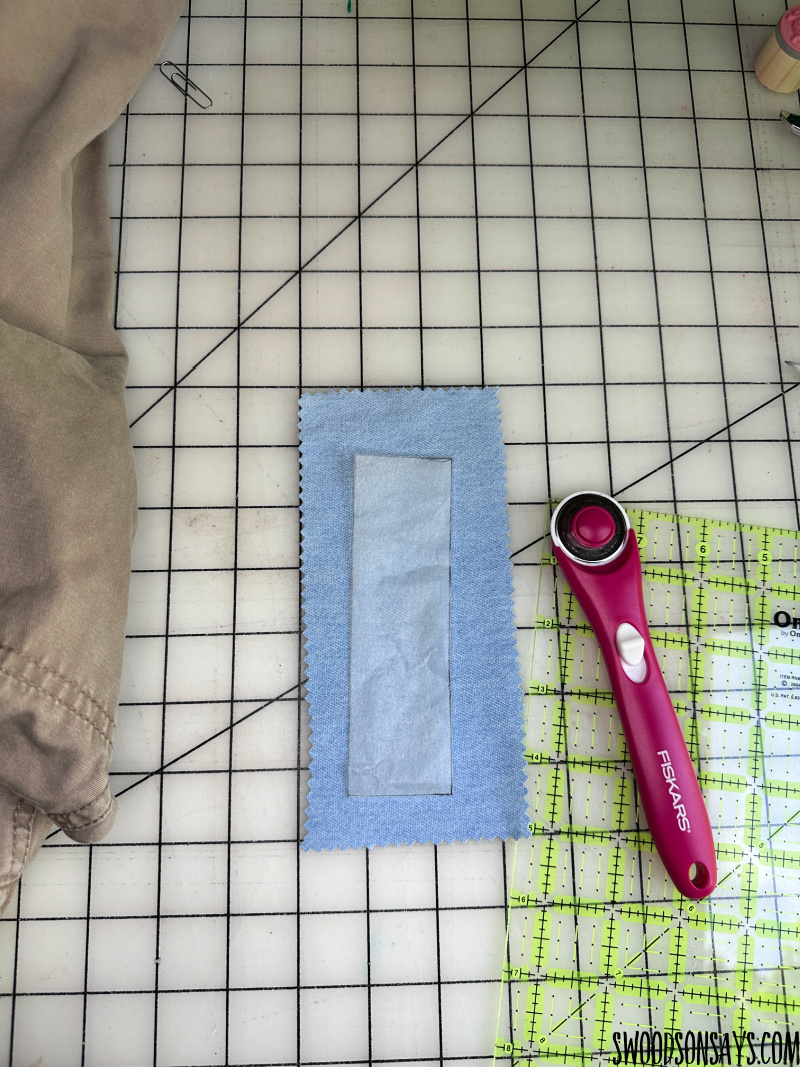
Step 2- Cut out the traced shape and then cut 2 denim scraps that are identical – both roughly 1″ wider and taller on each side than the traced pattern.
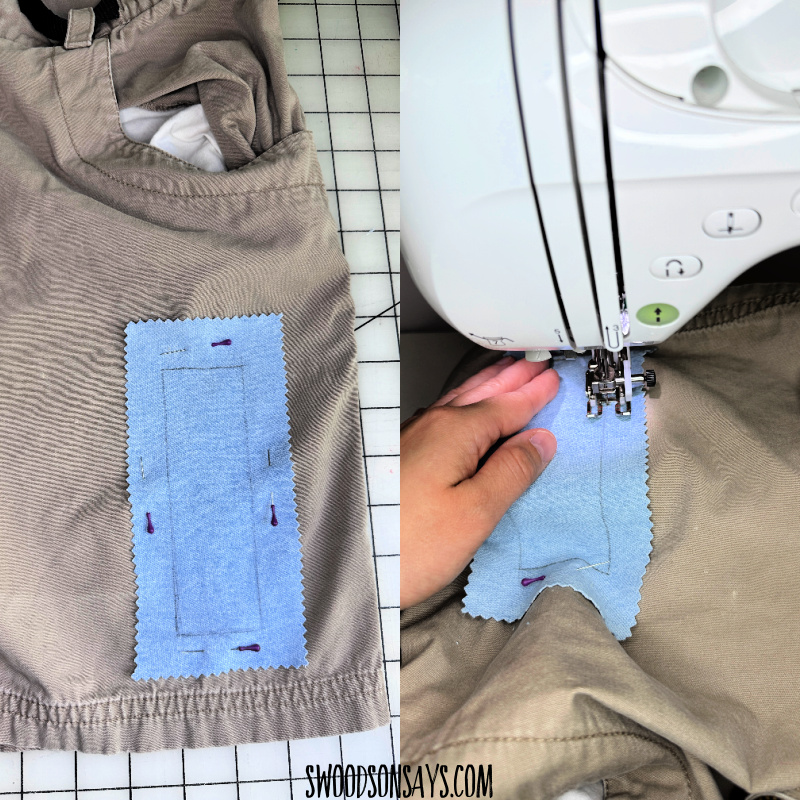
Step 3- Center the scrap on top of the rip, making sure that all of the rip is covered up. Pin it in place and sew along your line.

Step 4- This is what it should look like at this point in time, front and back! Make sure it’s secure and precise before you move on.
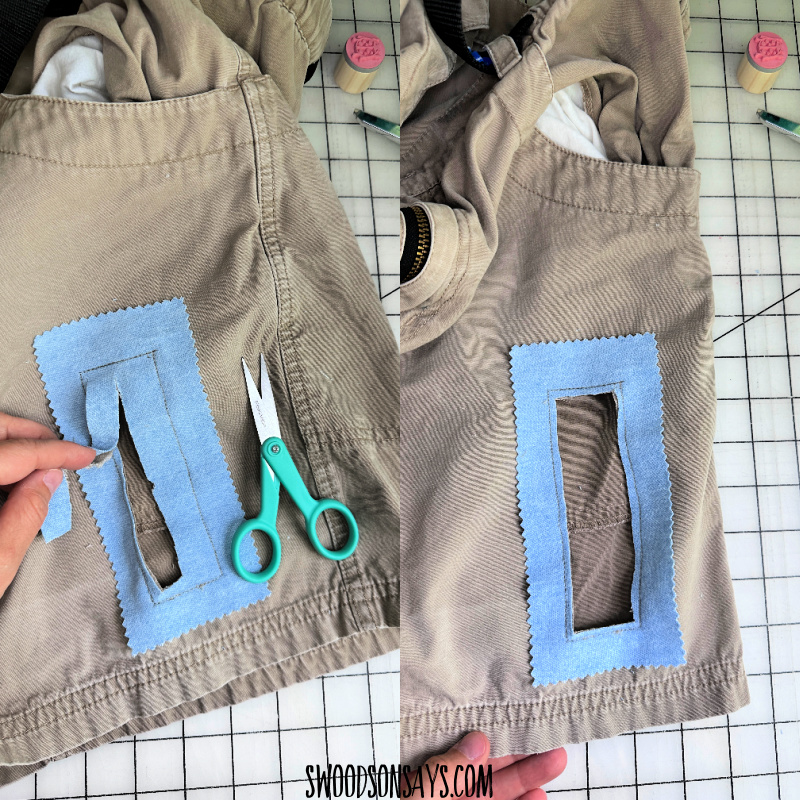
Step 5- Next you’re going to cut the interior rectangle, making sure not to cut through to the back of the shorts! Be sure to clip into the interior corners without going through the stitching (this is hard to see but there is a slit cut into all of the corners).
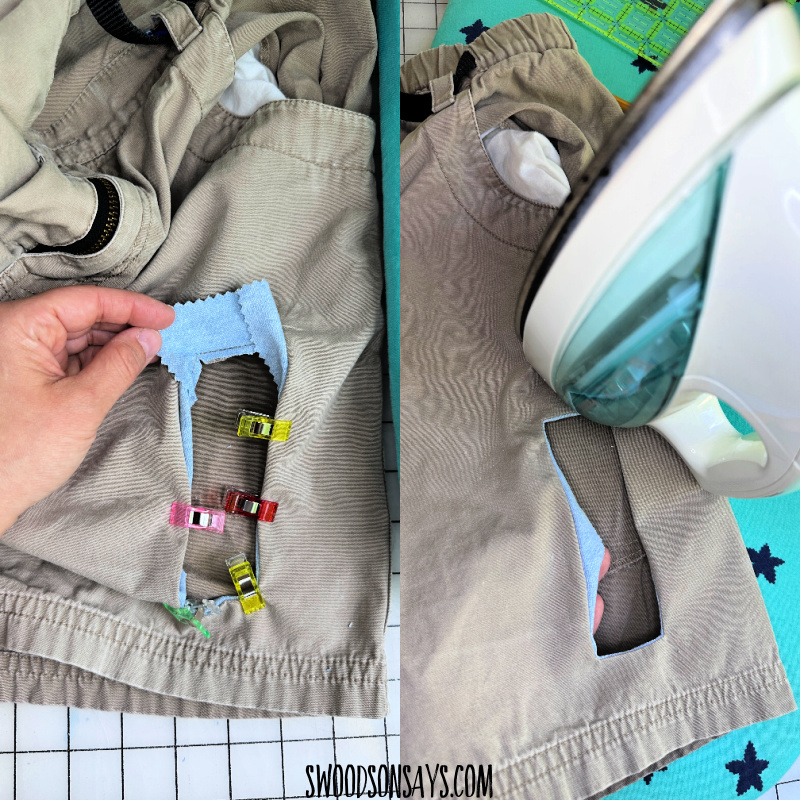
Step 6- Slowly push the top rectangle down into the window; you can clip it as you go or just finger press. The use an iron and smooth it out.

Step 7- this is what the inside should look like at this point!
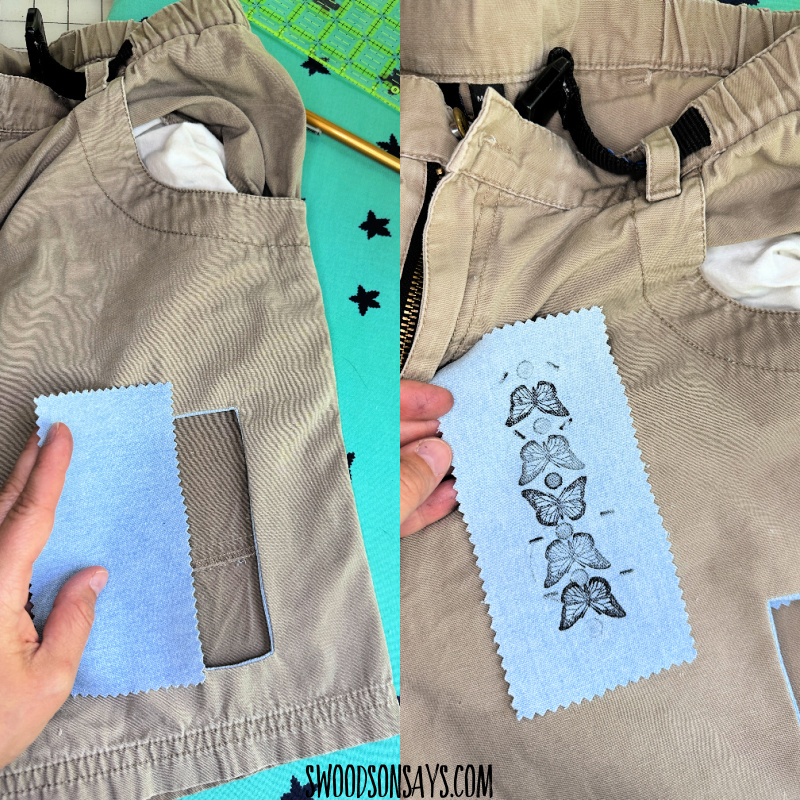
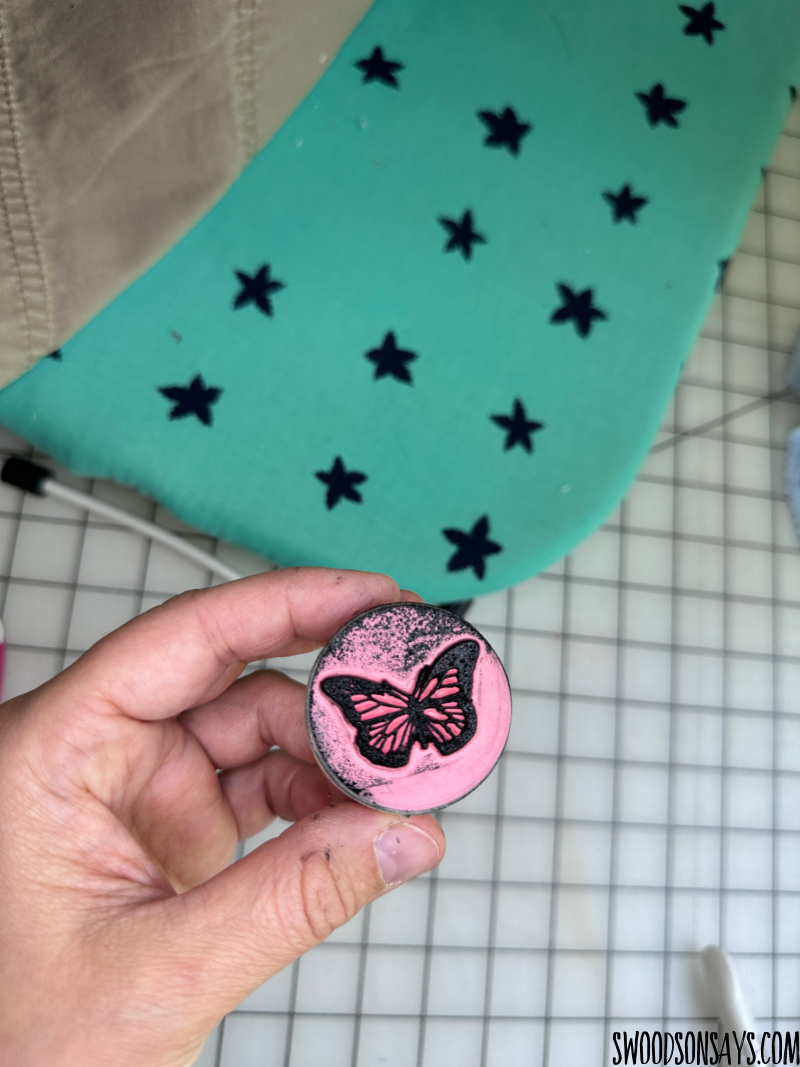
Step 8- Cut an identical denim scrap to the one in Step 2 and practice stamping! If you are using a prebought stamp, use an alcohol wipe to clean off the edges, but I love DIY stamps too.
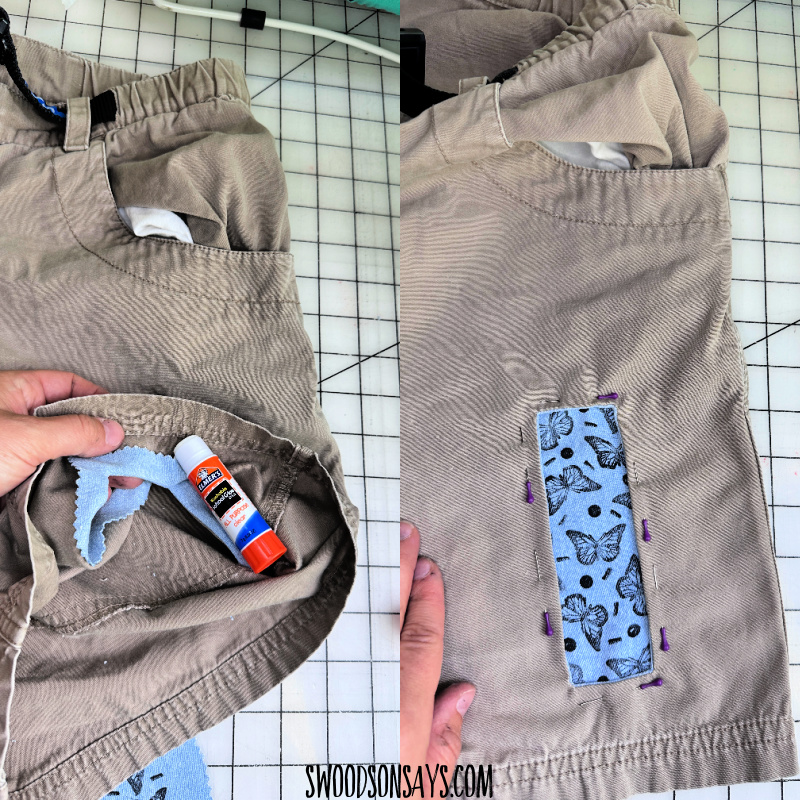
Step 9- Next you’re going to slide your stamped piece of fabric, right side up, underneath your window. You can use a combination of a glue stick and pins to secure it in place, making sure it is even on the back/bottom side.

Step 10- Time to sew! I used my walking foot to keep this smooth over the multiple layers.
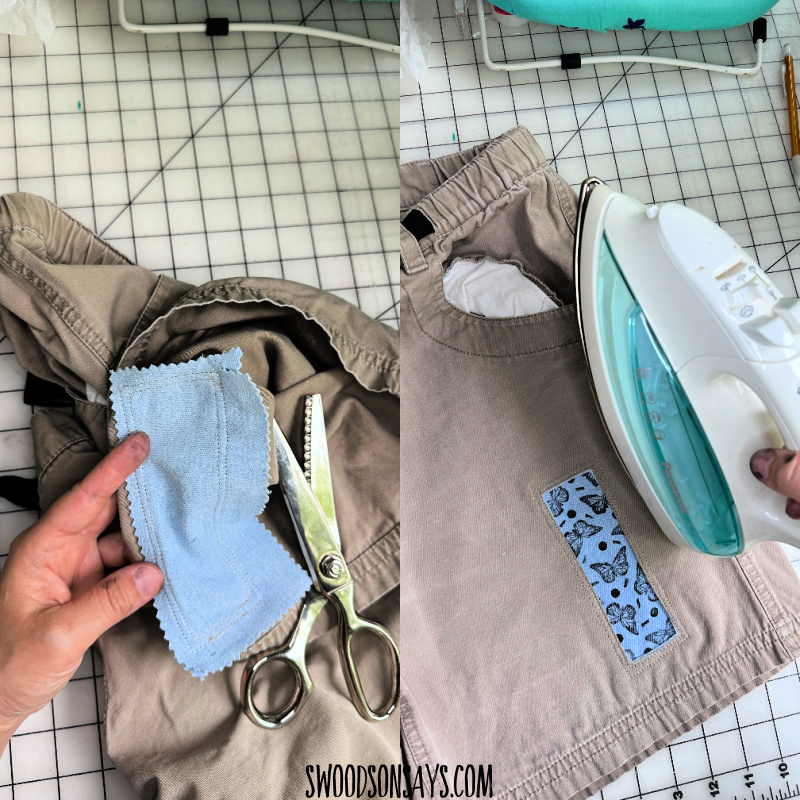
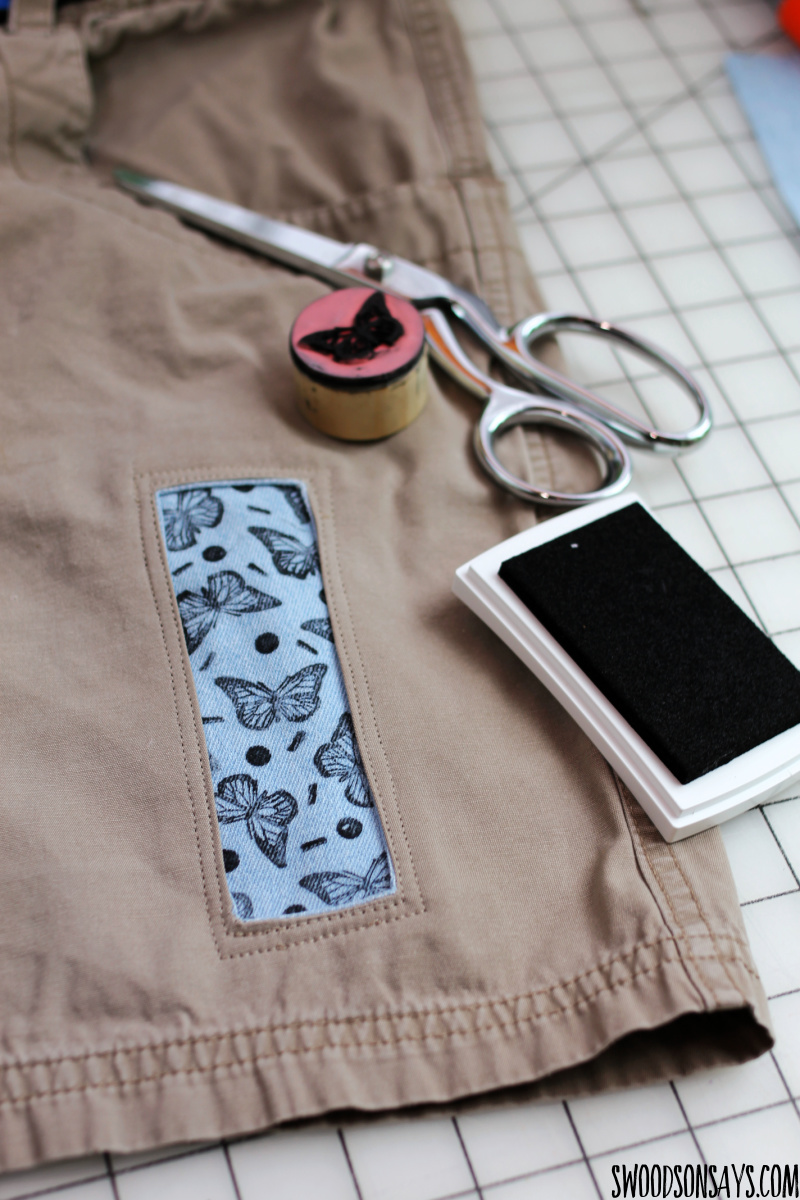
Step 11- Trim the excess fabric on the back with pinking shears again, if desired, iron the front, and you’re done! What do you think?
Kathleen
Friday 12th of May 2023
I love this mend! If I was the person who donated those shorts because they were ripped, I'd want them back now . . . lol!
Stephanie - Swoodson Says
Tuesday 4th of July 2023
aw made me laugh, you're too kind!
Karen Tweedie
Friday 12th of May 2023
It's like a bound buttonhole. Very clever using that to repair a tear or hole in a garment!
Stephanie - Swoodson Says
Tuesday 4th of July 2023
yes, same concept for sure! thanks, I had fun with it!