Free baby doll clothes patterns to sew! My niece was obsessed with babydolls for a few years and I wanted to sew her doll some custom clothes for a holiday gift. All the patterns I found were very involved and fussy, which didn’t appeal to me since I knew they’d end up at the playground, dragged around, etc., so I designed some super simple, fast patterns that you can use for upcycled old clothes. I’ve now sewn them all again for my own kids a few years later and now I’m finally sharing them with you!
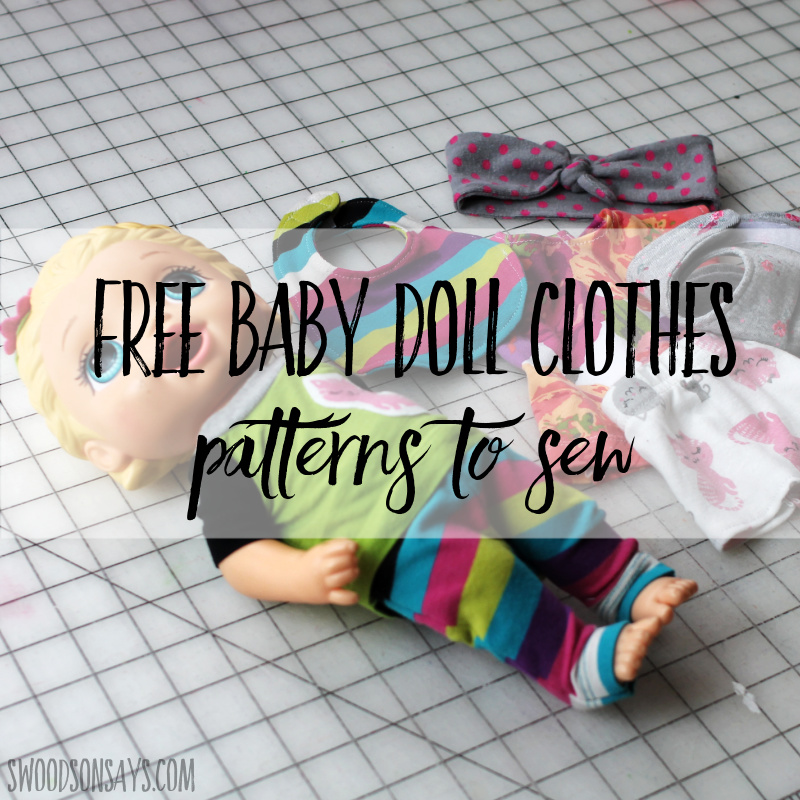
There is a shirt, pants, a bib, a headband, dress, and a little skirt. I used up a big pile of old kid clothes and even baby clothes to stitch these all up, they have perfect tiny little prints! No tiny buttons or tough closures, perfect for little hands to take them on and off.
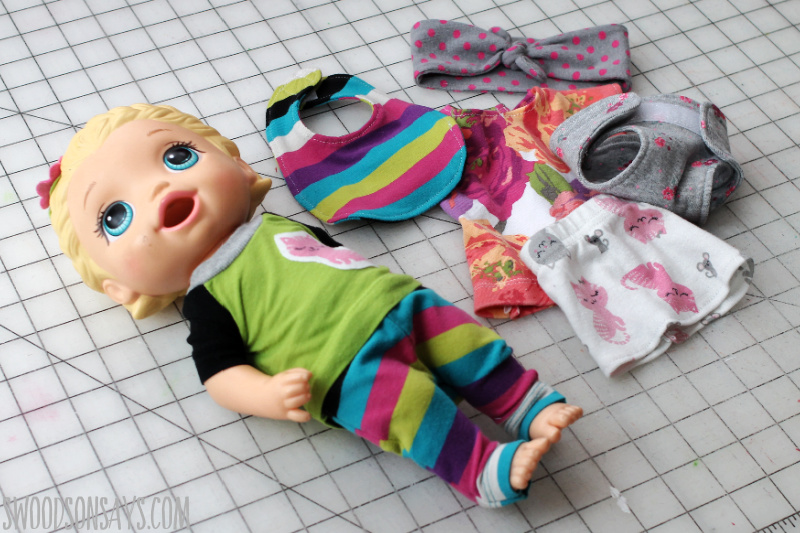
A few things to note about these patterns before you print them/try them out!
- They are tested out for fit on the Baby Alive doll [shop: Amazon ] and the Melissa & Dog baby doll [shop: Amazon – Target]
- Fit is assuming baby is wearing a diaper, this made a huge difference in the pants/skirt.
- They are designed for stretchy, knit fabric that will not fray and upcycled clothes! You could use the same patterns to use fresh knit fabric but you’d need to adjust it to add fabric for a true hem or waist where I’ve re-used old ones. This will make more sense if you look at the tutorial photos.
- They are not designed to be fancy, heirloom clothes. These are quick, easy, unfussy clothes for kids who are going to get them dirty, cut holes in them to add on designs, etc.
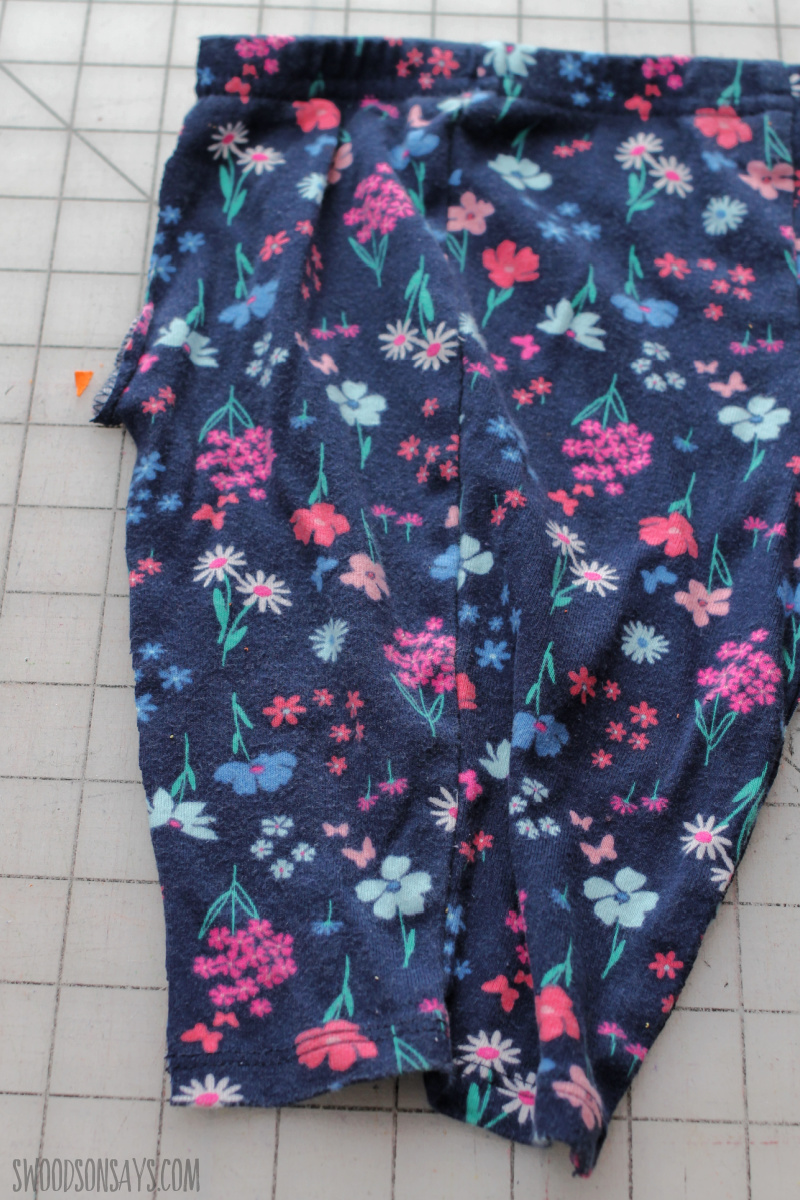
You’ll want to cut up one side seam of shirts and pants to maximize re-usable fabric! If you haven’t done much upcycling, check out these tips for sewing upcycles.
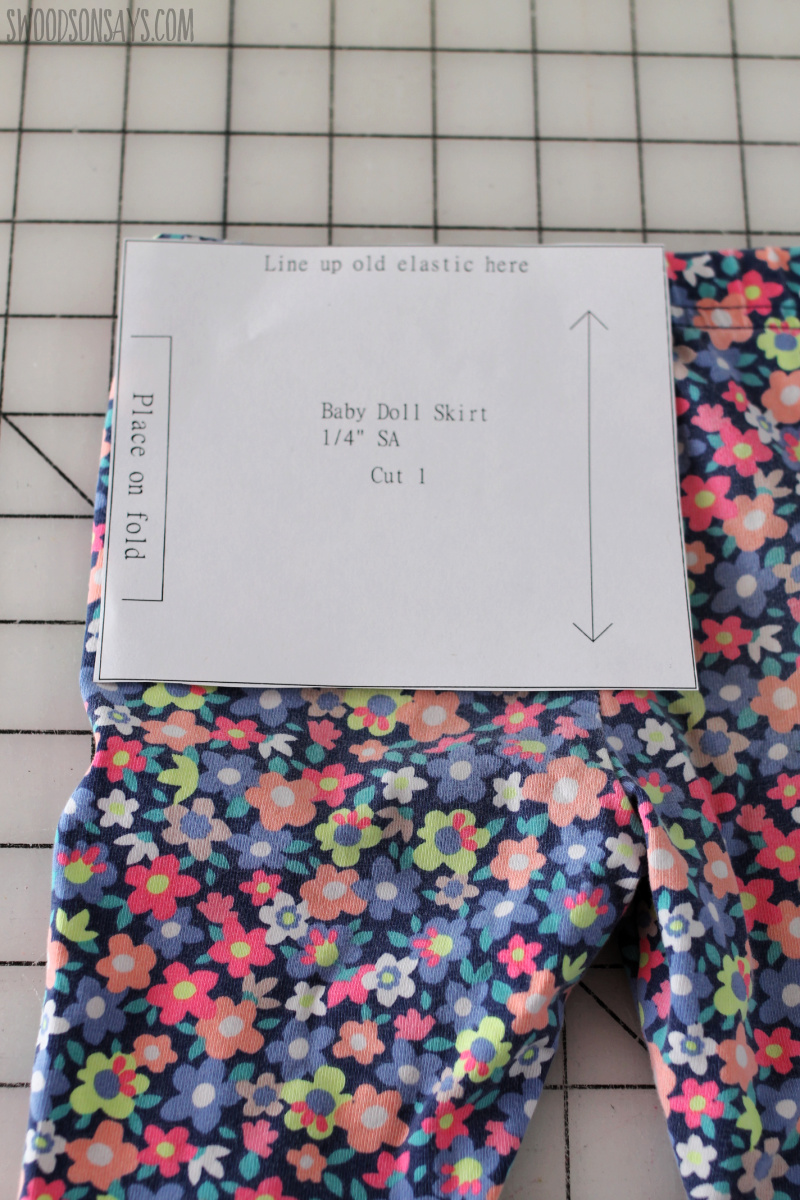
The skirt reuses a pre-existing waistband from pants or a skirt, as shown above is how you’d cut it.
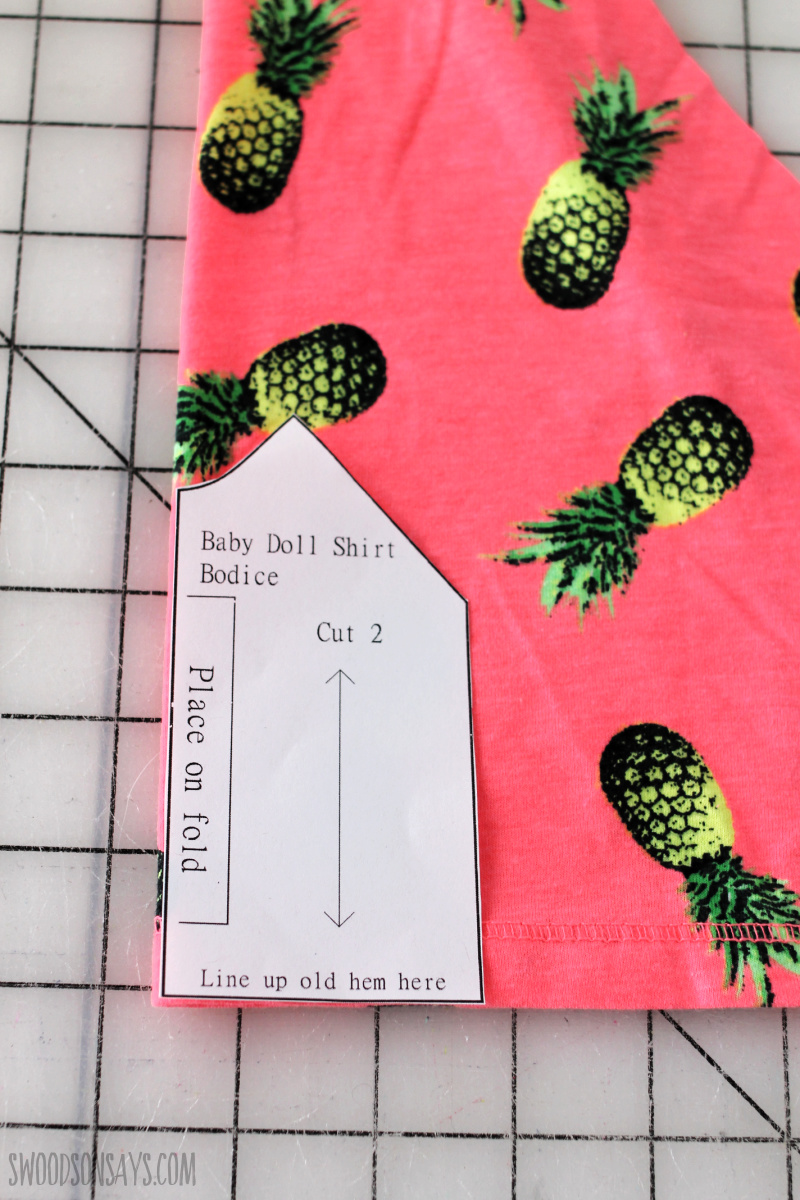
Several of the pieces reuse pre-existing hems, as shown above! Nice and easy.
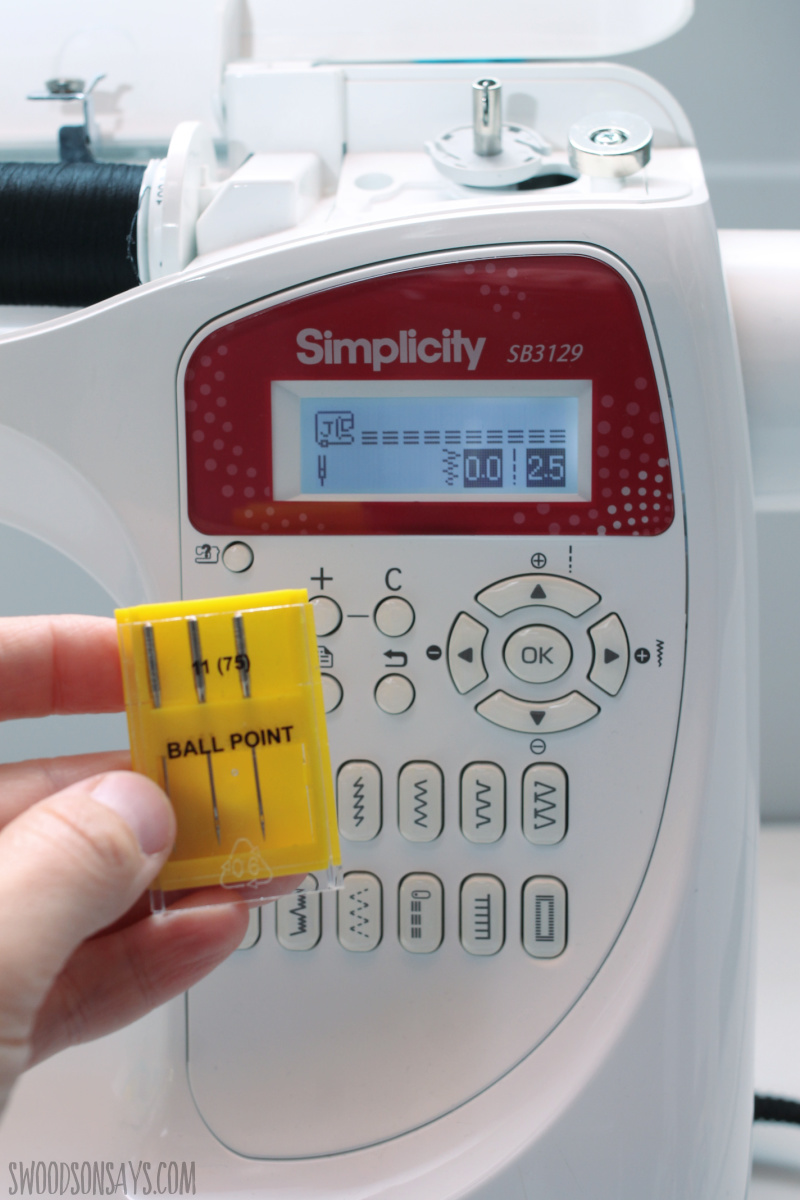
Last but not least, always use ballpoint/jersey needles for knit fabric, which all of these should be sewn in! I have some more knit fabric tips in this beginner sewing tips post. These are little pieces and small hems, so also consider using a walking foot, going slow, and using tissue paper under the fabric if needed to help stabilize.
If you need even more ideas of what to sew for kids, check out these posts:
- The cutest 25+ toys to sew for kids
- The cutest quilts to sew for kids
- 50+ free printable stuffed animal patterns
- 12+ DIY purse patterns to sew for kids
- 20+ Doll sewing patterns
Pin this post of free baby doll clothes patterns to sew using this link or collage photo.
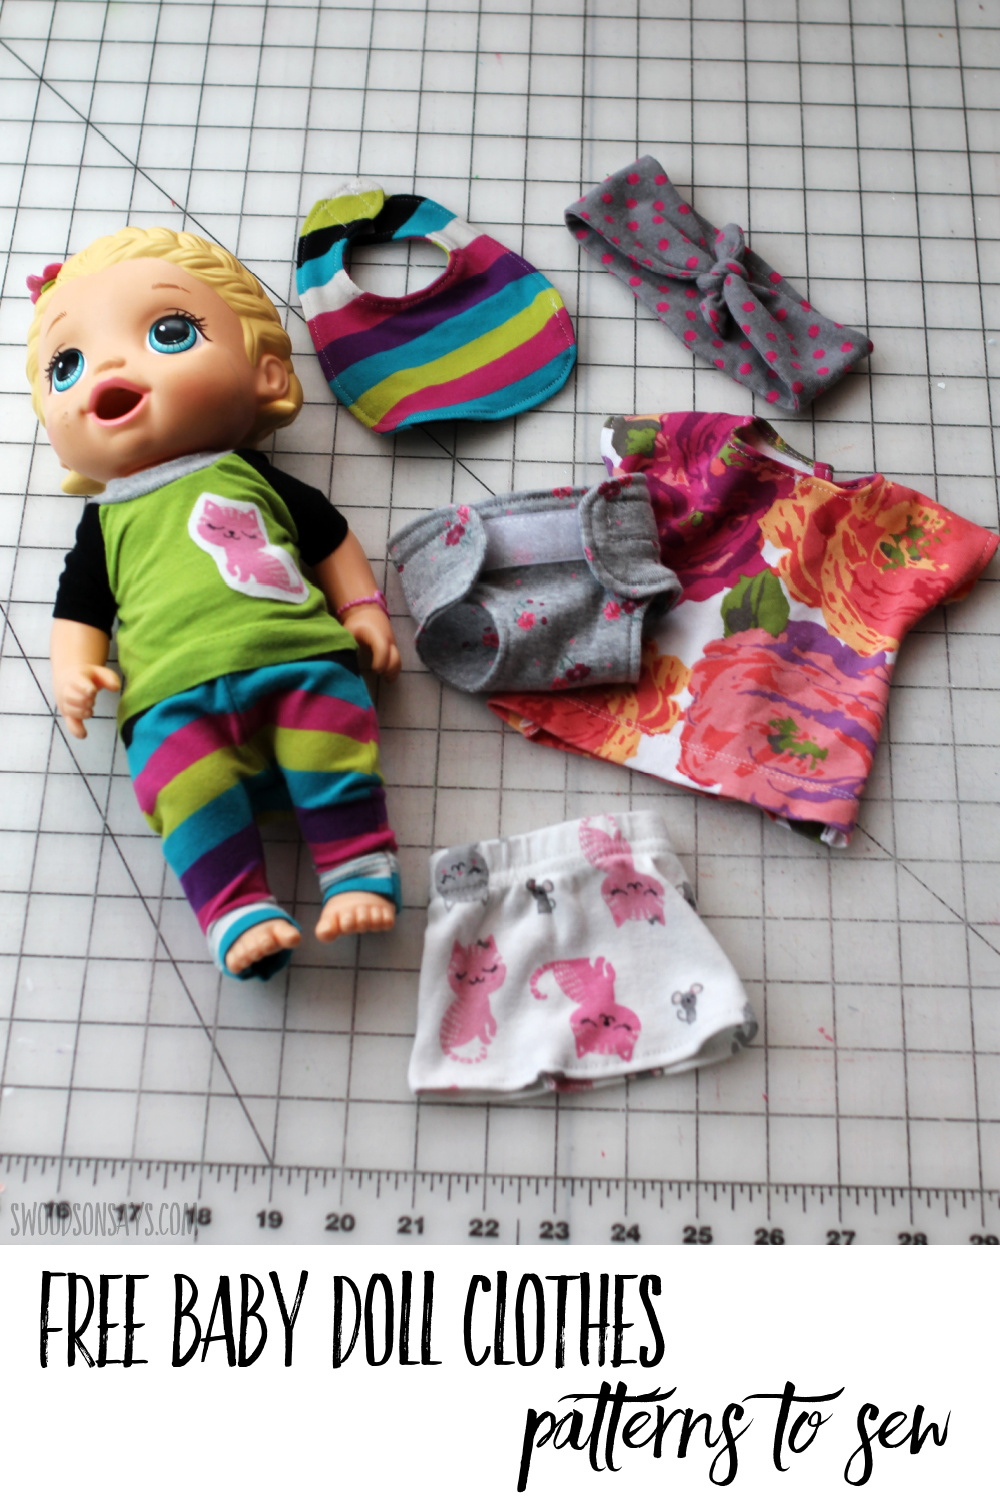
free baby doll clothes patterns to sew
Supplies
- A pile of old leggings, stretchy shirt, or dresses
- Sharp scissors: [Etsy – JOANN – Amazon]
- Sewing clips or pins
- Rotary cutter: [Etsy – JOANN – Amazon]
- Quilt ruler: [ JOANN – Amazon] – Shop cutting mat: [ JOANN – Amazon]
- Sewing machine – walking foot highly recommended; I use this one but they are machine specific!
- Iron: JOANN – Amazon
- Closures of your choice, whether it is KAM snaps, sew-on snaps, and/or hook & loop tape
- Patterns –sign up for my newsletter and get the free download once you confirm your subscription! If you’re already a subscriber, you can access the pattern with the password in each newsletter, in the resource library.
All patterns use 1/4″ seam allowance!
how to sew the doll shirt
 +
+
Step 1- Cut 2 sleeve pieces and 2 bodice pieces. With a real-human raglan, there is a front and back to the sleeve, but not for the doll version! Stitch up the sides as shown above.
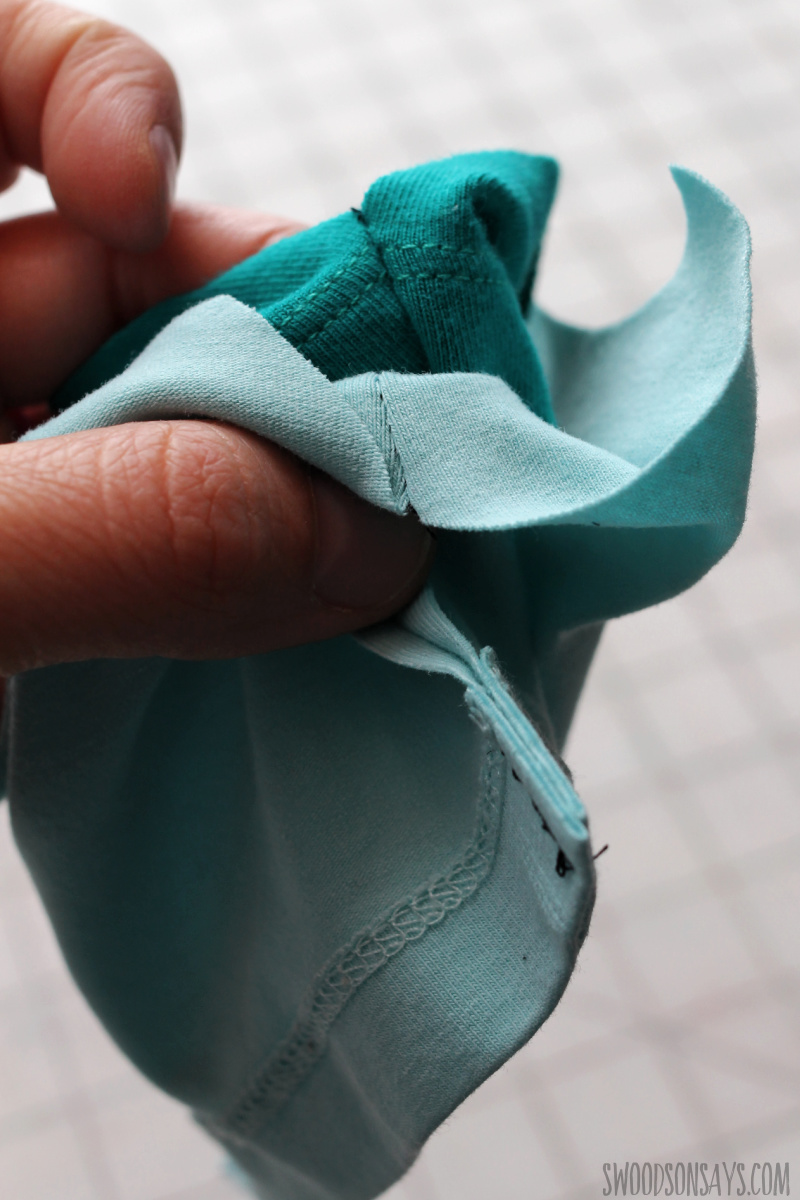
Step 2- Turn the sleeves inside out and put them inside the bodice so they are ‘right sides together’, and align the side seams and sew the shoulder seam.

Step 3- Stitch up the short end of the neckband piece, and flip it and fold it hotdog style so the seam is inside. Press it with an iron for crispness.
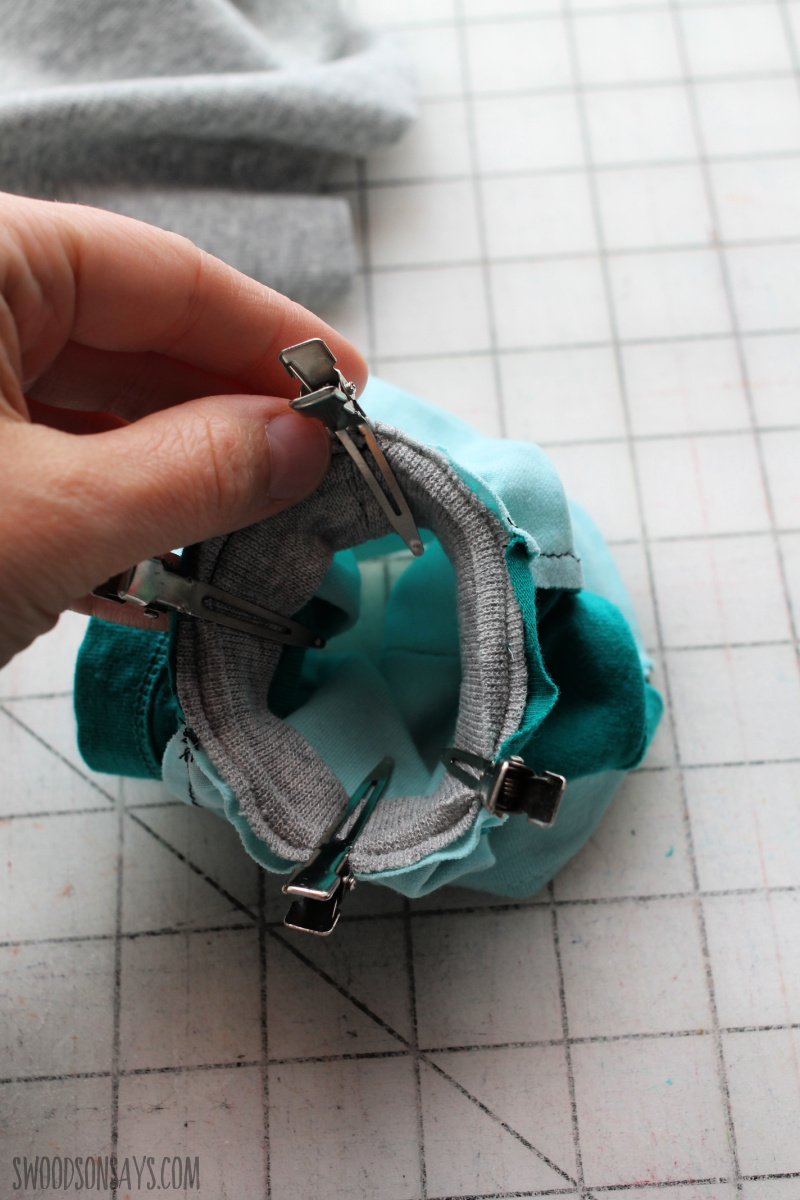
Step 4- Gently stretch the neckband out and clip or pin, then stitch it, turn it all right side out and you’re done!
how to sew the doll pants
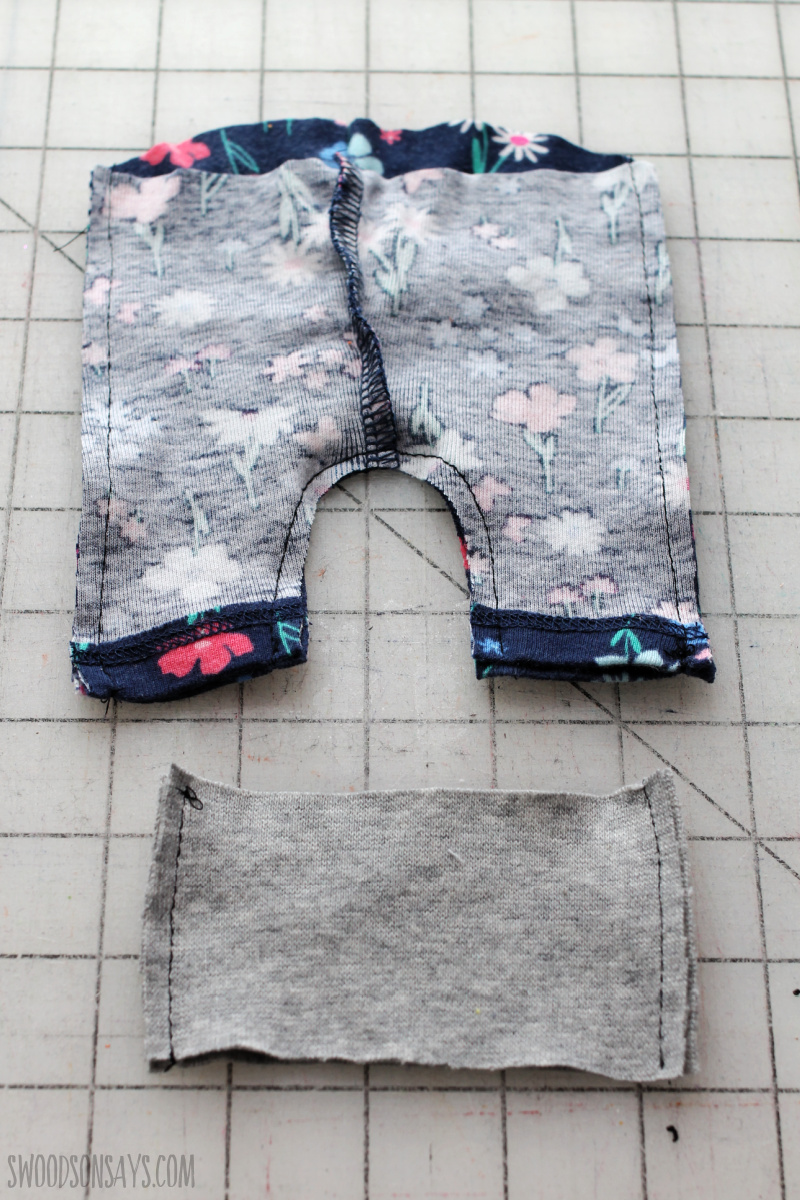
Step 1- Note that the thick, serged seam on the pants is from the ORIGINAL pair of upcycled pants, I did not sew that. Layer your two waistband and pant pieces right sides together and stitch up the sides.
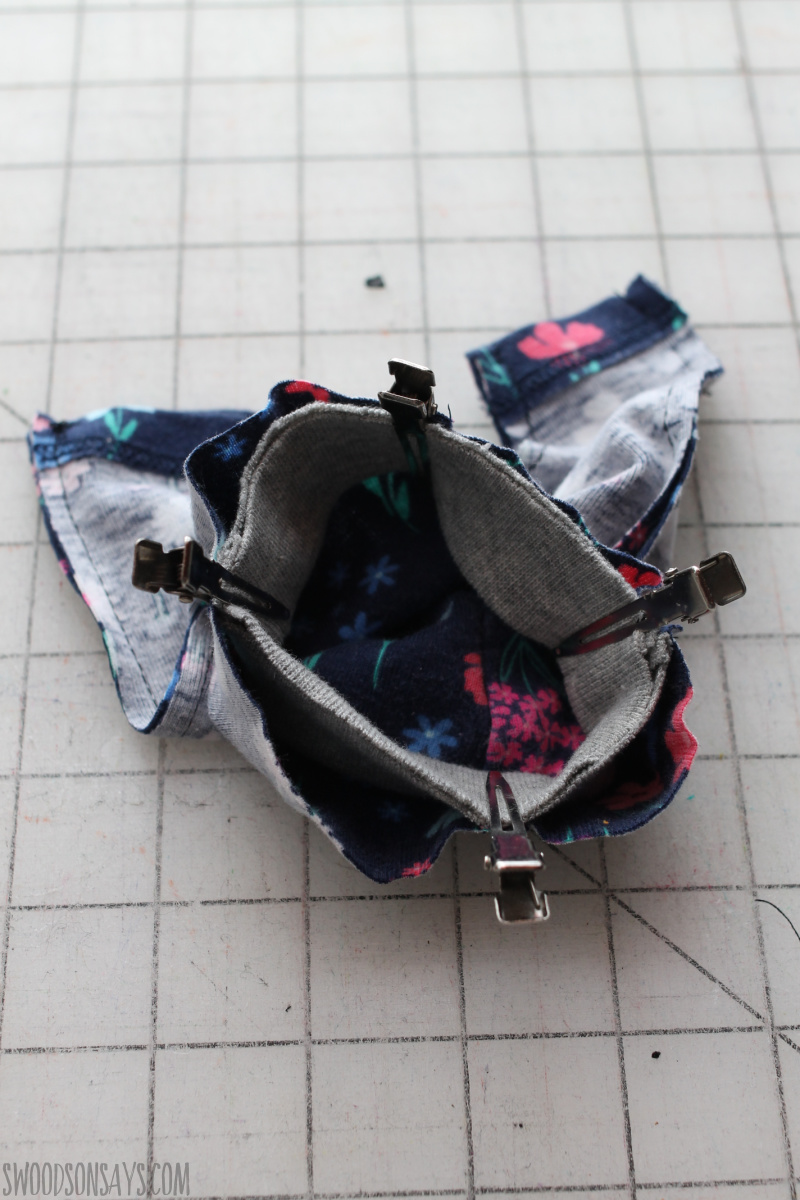
Step 2- Flip it and fold it hotdog style so the seam is inside. Press it with an iron for crispness. Pin evenly, stretching gently as you sew, and you’re done!
how to sew the doll bib
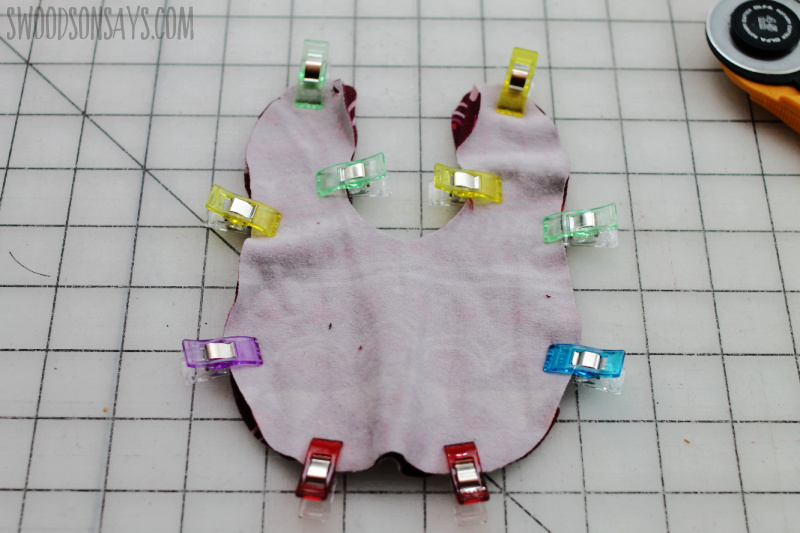
Step 1- Cut two bib pieces and place them right sides together. Clip or pin all the way around, leaving a small gap for turning (like in between the two red clips).

Step 2- Trim down the seam allowance smaller around the small curves. With knit fabric you don’t have to be super picky here, but it will help it be less bulky when you turn it right side out.

Step 3- Turn right side out and gently press out the seams with a pencil or your finger. Tuck the raw edges inside the gap and iron to flatten, then hand or machine sew shut.
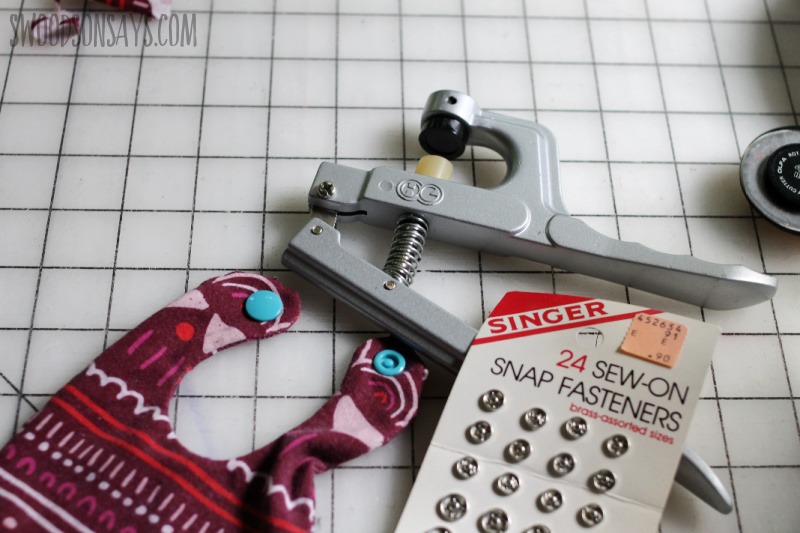
Step 4- Add a closure! A kam snap, sew on snap, or hook and loop circle will do the trick. You’re done!
how to sew the baby headband

Step 1- Cut two headband pieces and place them right sides together. Clip or pin all the way around, leaving a small gap for turning (like in between the two red clips).
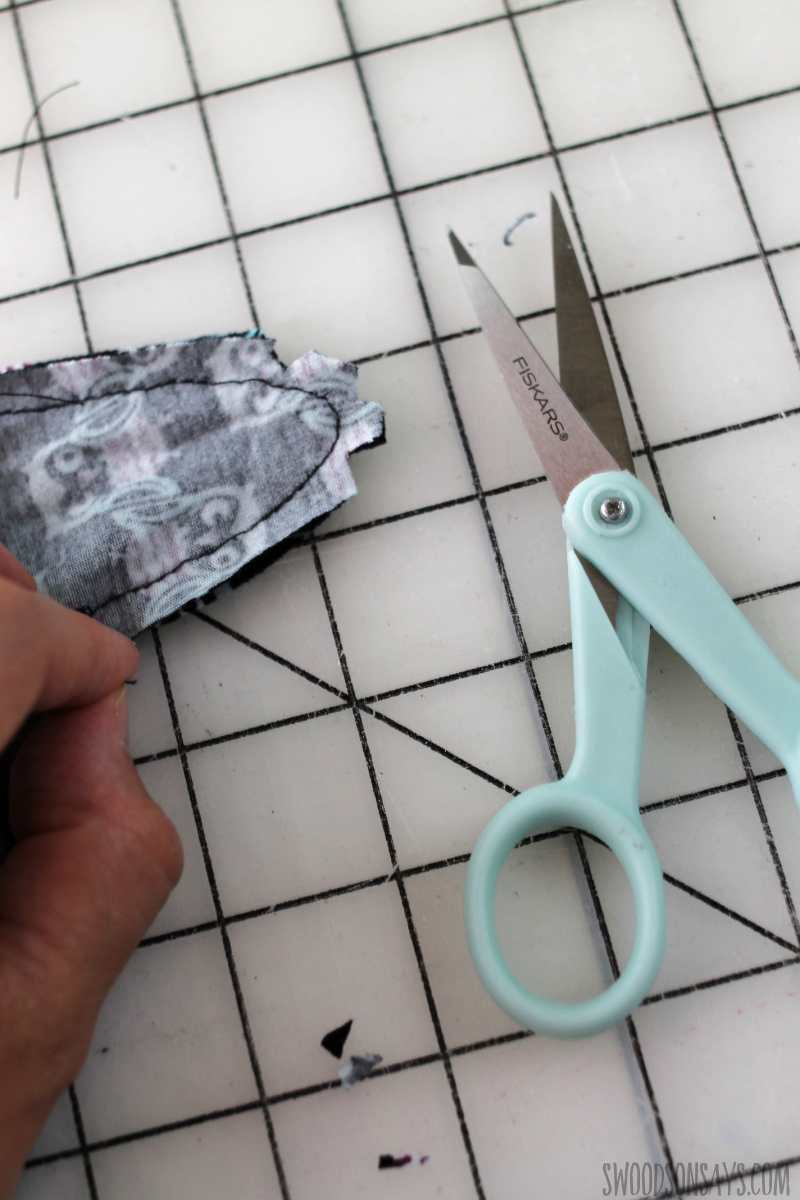
Step 2- Cut a few small triangles out around the edge curves, which will help it lay flat.

Step 3- Turn right side out and gently press out the seams with a pencil or your finger. Tuck the raw edges inside the gap and iron to flatten, then hand or machine sew shut. You’re done!
how to sew the doll skirt

Step 1- Lay the skirt piece right sides together and clip or pin the long raw edge, sew.

Step 2- Use an iron to press up a hem and stitch! Knit won’t fray so don’t sweat the exposed edges.
how to sew the doll dress

Step 1- The hems you see are reused from the original garment, as a reminder! Fold, iron, and stitch an easy hem along the long edges of the single dress pieces and all four of the sleeve openings.

Step 2- Pin the front and backs together as shown, with right sides together, sew where the clips are; leaving the back, bottom, and arms open.

Step 3- Gently press down a hem along the neckline and stitch.
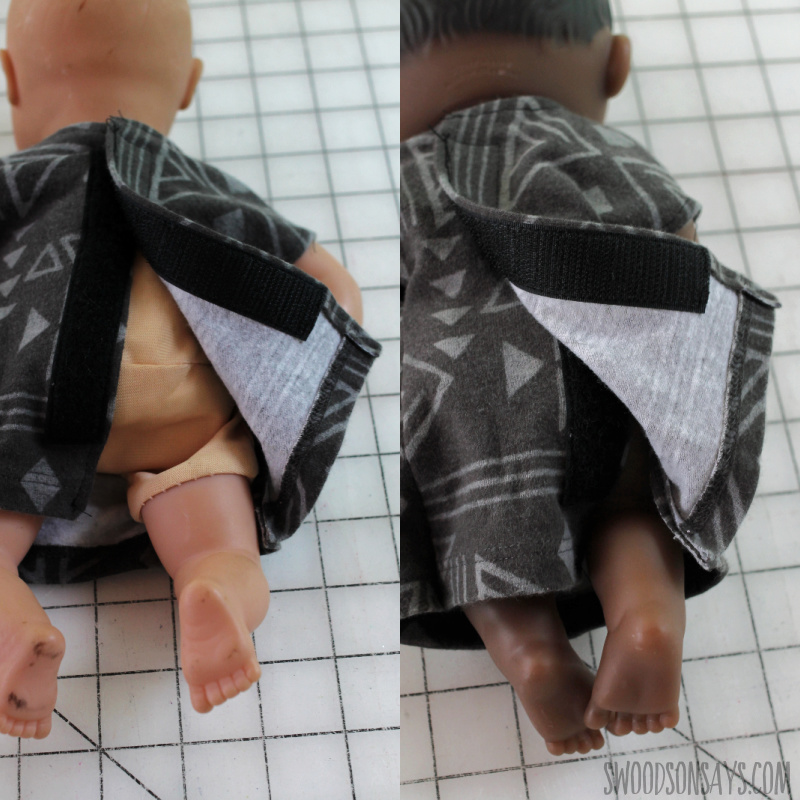
Step 4- Add some closures for the back and you’re done! This is the only garment that had signficant fitting differences between the two types of doll; you’ll want to shift the closures depending on the actual width of your doll’s torso. Here you can see I used hook & loop tape.

Or add snaps instead! You’re done!
how to sew the doll diaper
This pattern is included in the PDF with all the others, but the tutorial is a separate post since I shared that pattern first and it is a little more complicated – see how to sew the doll diaper here! Google gets crabby if I have the same content in two places, so my apologies for the extra hop/skip/jump, I promise it isn’t to squeeze more page clicks out of you.
Happy baby doll dressing!

Dawn rosenboom
Sunday 2nd of April 2023
Hope I can get the free patterns
Cara
Monday 20th of February 2023
Thank you so much for sharing these, my daughter is beyond excited that she has a new outfit for her baby alive that isn't a basic pillowslip style dress!
Stephanie - Swoodson Says
Tuesday 4th of July 2023
love to hear that :)
Sylvia
Monday 4th of July 2022
I signed up, but can't find the download link for the free pdf I want. There is no supplies tab as you mentioned in the other comment.
Stephanie - Swoodson Says
Tuesday 4th of July 2023
you have to sign up for my newsletter - it's linked under 'supplies': "Patterns -sign up for my newsletter and get the free download once you confirm your subscription! If you're already a subscriber, you can access the pattern with the password in each newsletter, in the resource library. "
Liz
Thursday 9th of September 2021
Where are the PDF files for the dolls clothes?
Stephanie - Swoodson Says
Thursday 9th of September 2021
Hi liz! they are in my download library for subscribers, there is a link under "supplies" that will get you signed up :)